Led lighting installation in 5 Simple steps
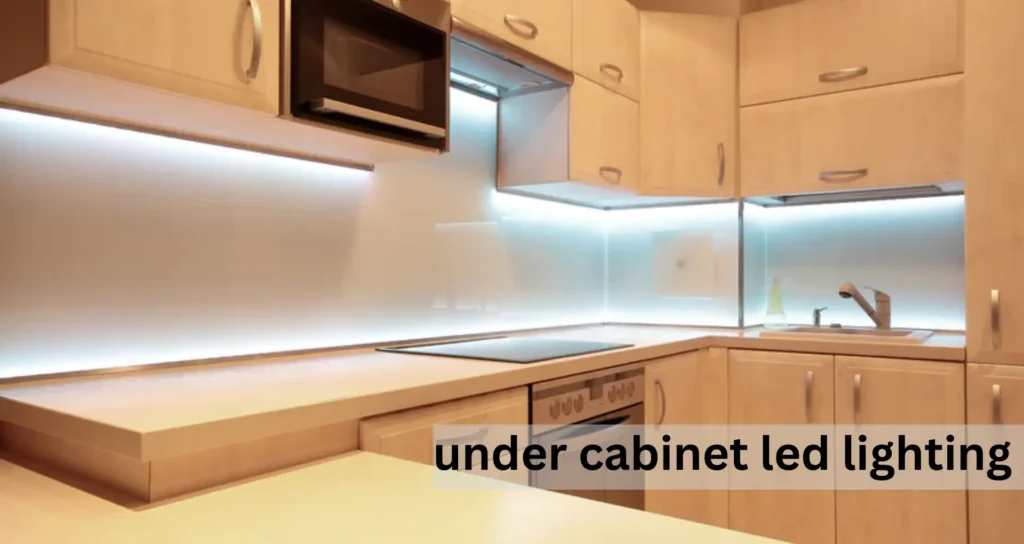
Under cabinet LED lighting is yet another ideal innovation that you can add to the kitchen to improve lighting while performing duties such as cooking or even reading. These lights are economical, and durable and can change your room’s appearance within the shortest time possible.
Do you want slim, attractive, and practical under cabinet LED lighting? Whether you like to DIY or are completely new to home improvement, lighting up your home using LED lights is a very easy and fast process if you know where to begin.
In this guide, you’ll learn everything about choosing the right lighting and how to install or replace it properly. Using these steps, you’ll upgrade your kitchen lighting to something more practical and chic.
Why under cabinet-led lighting?
Under cabinet lighting cannot only look fantastic and add style, but it is also useful. It makes tasks such as cooking visible, consumes less energy, and is more durable than traditional bulbs. Furthermore, it helps you bring a modern feel into your kitchen or workstation without much effort. It gives a beautiful look and makes your kitchen more versatile. With the help of under cabinet led lighting you can create sufficient lighting in the kitchen to do tasks instead of large voltage bulbs.Add a modern touch to your home decor by installing led lighting in your kitchen.
Preparing for under cabinet LED lighting Installation
Before installing under cabinet LED lighting, it’s essential to prepare properly.
Measure Your Cabinet Space
Planning is very important before installing the under cabinet LED lighting. First, measure the cabinet to ensure the lights will fit perfectly and cover the space properly. Measure the length from the cabinet to the end. Till where you need to install led lighting. This minimizes the chances of experiencing reality shock while fixing the different electrical wiring. Make the right measurements of cabinets for proper installation.
Check for Power Sources
Before fitting, locate the closest power supply to your cabinet’s location. Choose between the types of lighting that require easy plug fixing or wiring. This will assist you in planning your installation pattern and thus make the installation efficient and safe.
5 Simple steps for LED light installation
Learn LED light installation into your kitchen cabinets in 5 simple steps.
Step 1: Choose the Right Under Cabinet LED Lighting
Choosing the right under cabinet LED lighting can significantly influence the overall look and feel of the kitchen and its utility. Based on your kitchen style and preference, the options between LED strips, puck lights, or bar lights are all designed for different benefits in your kitchen.
Consider the Type of Lighting
Many kinds of under cabinet LED lighting can be used for several functions. LED strips offer a smooth and seamless light, while puck lights provide concentrated single or groups of rays on designated zones. Bar lights have both, which makes them universal beer lights. Select the type that will suit your requirements and add value to the interior design of the kitchen. Strip or bar-led lighting looks more elegant and is more versatile.

Measure Your Space
Before buying the lighting, you must determine the width and height of your cabinets. This step ensures that there are no spaces between the lights or vice versa and that the lights are installed clumsily. Measurements also assist you in the placement of the lighting so there is proper lighting throughout the workplace.
Check the Voltage and Brightness
When speaking of under cabinet LED lights, two characteristics have to be considered: voltage and brightness. Most choices are in normal voltages, so select what applies to your home’s electrical circuit. Also, check the brightness levels to make the right adjustments. You can measure it in lumens. You can choose led lights with both low and high brightness.
Step 2: Gather the Necessary Tools and equipment
Here’s a list of essential items to complete the installation successfully.
List of Tools Needed
- Drill
Cabinet screws are needed to be drilled into your cabinet to fix the LED lights into place. This means that the installation can be done correctly, and the intimidations of the fixtures to remain in place instead and run safely are tightened.
- Screwdriver
It is crucial to use sockets for tightening screws that secure appropriate lighting fixtures. Choosing the proper tool will make the installation more secure, and afterward, none will fall off during usage.
- Measuring Tape
The measuring tape is the most essential tool for measuring the needed length and depth of the cabinet space. This tool guides you in identifying the precise locations to place the lights guaranteeing that they are flush with the surface or table and cast light uniformly across the workspace.
- Wire Connectors
Wire connectors are essential for connecting the LED lights to the power supply without any fire danger. They make proper connections, which eliminate the chances of electric shorts and contribute to the appropriate functioning of the lights; they increase safety measures and efficiency.
- LED Lighting Kit
This LED lighting kit includes all the necessities for your installation: the lights, adhesive backings or mounts, and wiring. Selecting a brand and high-quality kit gives you everything required for the installation to be successful and effective.
Safety Equipment
For every installation work, it is deemed appropriate to start with safety procedures. To eliminate injuries when operating with tools or when handling material that may cause injuries, such as cuts, protective gloves should be worn. It is also suggested that one should also wear safety goggles on the head to prevent the solution from getting on the eyes. If these measures are taken, installation is safe and should go on as planned.
Step 3: Prepare Your Cabinets for Installation
Clear the Area Under the Cabinets
Still, ensure that the area beneath your cabinets is debris-free before installation starts. Clear the area of objects that will only distract or clutter it, like appliances, dishes, or decorations. This will not only make the installation easier but also secure your properties from damage during the construction.
Plan Your Wiring Route
After clearing the area, choose the wiring route for the LED lights successfully installed. Choose if the wires will be hidden or Hanging, and make sure they won’t cause trouble with appliances or items. A wiring plan will ensure everything is tidy and well-planned, making the installation easier.
Step 4: Install the Under Cabinet LED Light
Now it’s time for LED light installation. Follow these instructions for successful installation.
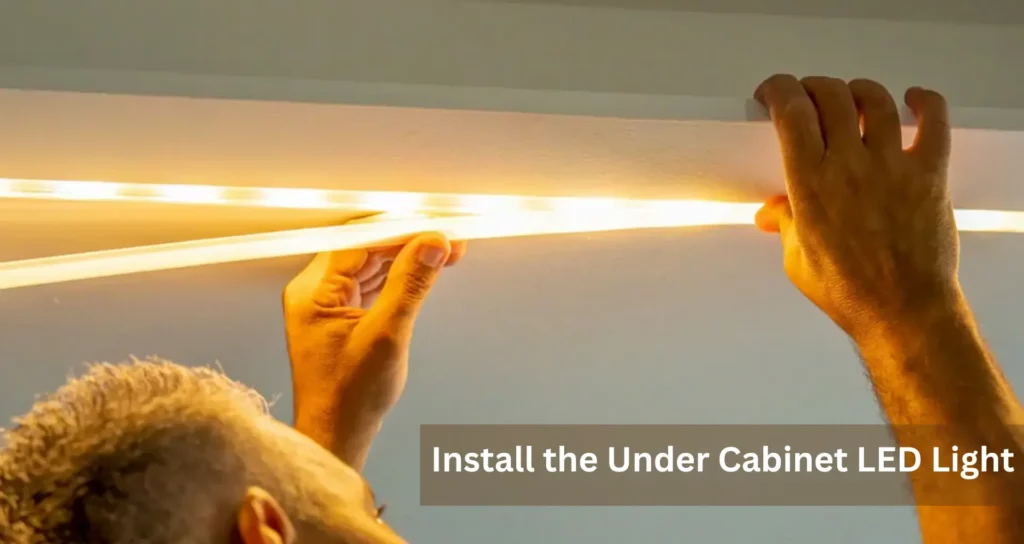
Attach the LED Lights to the Cabinet
First, you should follow the best installation practices and fix the LED lights on the underside of the cabinets. You can use the self-adhesive method or lighting mounting brackets, depending on your selected lighting type. Ensure they are laid flat on the surface and aligned to get an even and proper light spread in your working area. Under cabinet led lighting is attracted now you need to connect wires.
Connect the Wires
After the lights are well fitted, the required wiring must be done per the producer’s specifications. Plug-in lights, for instance, all you need to do is plug into an electrical outlet. For the hardwired options, screw the wires for the light into the power source by making sure they are well-connected and have proper insulation.
Step 5: Test and Adjust the Lighting
Turn on the Power
After doing this, switch on your power to determine the effectiveness of the new under cabinet LED lighting. It is just fine to turn all the lights on and ensure there is no flickering. The first trial will help ensure that everything is okay before you proceed with the final fine-tuning.
Make Adjustments if Necessary
Check the lights’ position, intensity, and placement as soon as they are turned on. If any areas are too dim or if the lights are not angled as preferred, change them according to the plan. This can mean relocating the lights or rotating them if your LEDs have this option or increasing or decreasing the brightness, which helps to set up the proper lighting for the working area.
Conclusion
Installing under-cabinet LED lighting is a quick and effective way to enhance your kitchen’s functionality and style. By following these five simple steps, you can achieve professional-looking results with minimal effort. LED lighting offers improved visibility, energy savings, and a modern aesthetic, making it a valuable addition to any home.
Take the leap and transform your kitchen into a well-lit, inviting space. With under-cabinet LED lighting, your kitchen can become the brightest and most loved area of your home.
FAQ’s
1. What tools do I need to install under-cabinet LED lighting?
You’ll need a drill, screwdriver, measuring tape, wire connectors, LED lighting kit, and safety gear like gloves and goggles.
2. Can I install under-cabinet LED lighting myself?
Yes, installation is easy and suitable for DIY enthusiasts. Just follow a step-by-step guide for best results.
3. What kind of lights should I install?
LED strips are sleek and provide uniform light, puck lights focus on specific areas, and bar lights are versatile for various needs.
4. How do I plan the wiring?
Decide between concealed or exposed wiring and ensure it won’t interfere with appliances. A clear wiring route ensures a tidy setup.